Perform the following two procedures when you first install Vision and whenever you modify a model or make other changes.
-
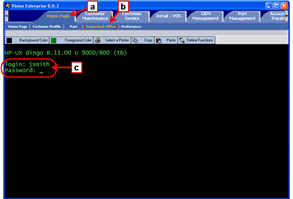
Open the Vision Back Office.
-
Click the Home Page tab.
-
Click Vision Back Office.
-
Input your username and password.
|
Click the image to see a larger view.
|
-
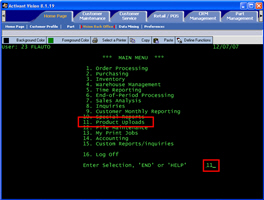
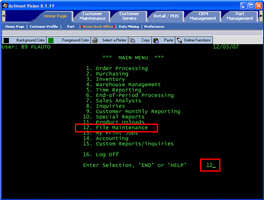
From the main menu, select Product Uploads.
Type 11<Enter>.
|
Click the image to see a larger view.
|
-
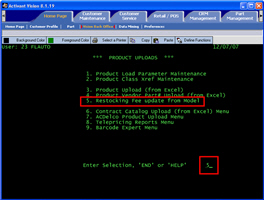
From the Product Uploads menu, select Restocking Fee Update from Model.
Type 5<Enter>.
|
Click the image to see a larger view.
|
-
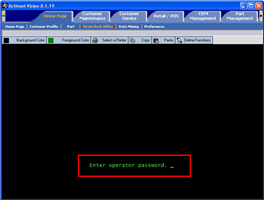
Type your password and press <Enter>.
|
Click the image to see a larger view.
|
-
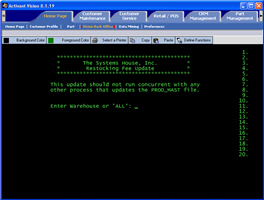
At the Restocking Fee Update screen, do one of the following:
-
If you want to update all warehouses, type ALL<Enter> and skip to Step 7.
-
If you want to update selected warehouses, continue to Step 6.
|
Click the image to see a larger view.
|
-
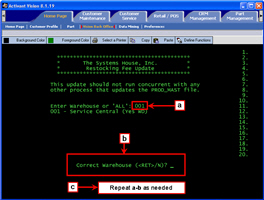
To update selected warehouses, do the following:
-
Type the warehouse number and press <Enter>.
-
If the warehouse displayed is correct, press <Enter>.
-
Repeat Steps a-b as needed.
-
When you have finished entering warehouse numbers, type LAST<Enter>.
|
Click the image to see a larger view.

|
-
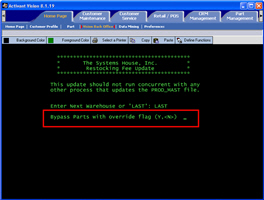
Select whether to bypass parts that have override flags.
-
To bypass parts that have override flags, type Y and press <Enter>.
-
To include parts that have override flags, press <Enter>.
|
Click the image to see a larger view.
|
-
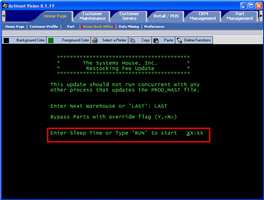
Run the update program.
-
To run the program later, type the start time and press <Enter>.
-
To run the program immediately, type RUN and press <Enter>.
|
Click the image to see a larger view.
|
-
Open the Vision Back Office.
-
Click the Home Page tab.
-
Click Vision Back Office.
-
Input your username and password.
|
Click the image to see a larger view.
|
-
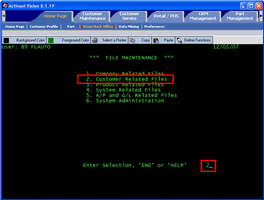
From the main menu, select File Maintenance.
Type 12<Enter>.
|
Click the image to see a larger view.
|
-
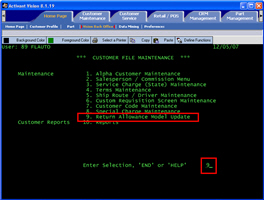
From the File Maintenance menu, select Customer Related Files.
Type 2<Enter>.
|
Click the image to see a larger view.
|
-
From the Customer File Maintenance menu, select Return Allowance Model Update.
Type 9<Enter>.
|
Click the image to see a larger view.
|
-
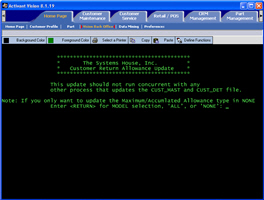
Type your password and press <Enter>.
|
Click the image to see a larger view.
|
-
At the Customer Return Allowance Update screen, do one of the following:
-
If you want to update allowances by individual return model, press <Enter>.
-
If you don't want to update allowances by individual return model, skip to Step 8.
|
Click the image to see a larger view.
|
-
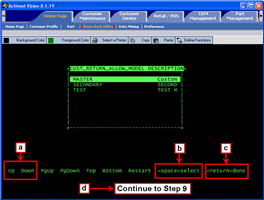
On the Customer Return Allowance Model Description screen, select a model.
-
Use the up and down arrows on the keyboard to highlight a model.
-
Press the spacebar on the keyboard.
A carat mark (>)appears on
the model you selected. You can select additional models if desired.
-
Press <Enter>.
-
Continue to Step 9.
-
If you are updating by model, the screen will appear slightly different from those pictured below, but the steps are the same.
|
Click the image to see a larger view.
|
-
If you are not updating by individual return allowance models, do one of the following on the Customer Return Allowance Update screen:
-
To update only the maximum allowance, type NONE and press <Enter>.
-
To update all allowances, type ALL and press <Enter>.
|
Click the image to see a larger view.

|
-
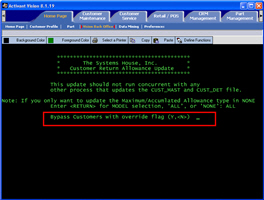
Select whether to bypass customers that have an override flag.
-
To bypass customers that have override flags, type Y and press <Enter>.
-
To include customers that have override flags, press <Enter>.
|
Click the image to see a larger view.
|
-
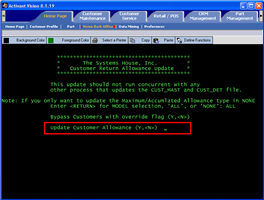
Select whether to update the customer allowance.
-
To update the customer allowance, type Y and press <Enter>.
-
To continue without updating, press <Enter>.
|
Click the image to see a larger view.
|
-
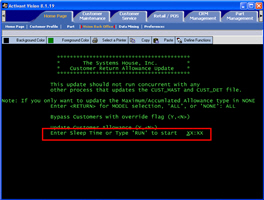
Run the update program.
-
To run the program later, type the start time and press <Enter>.
-
To run the program immediately, type RUN and press <Enter>.
|
Click the image to see a larger view.
|