|
• After you void a check on the Accounts Payable —> Check Register screen, you must run the Vision Back Office check register and update function. This causes the Vision system to update all the vouchers that were to be paid by that check so that the vouchers have an open balance. Those vouchers are then available to be added to another check batch. The function is located here:
• Auto menu 14.2.2.8 — Check Register/Hand Check To Voucher Register
• OP menu 13.2.8 — Check Register/Handcheck To Existing Vouchers Register
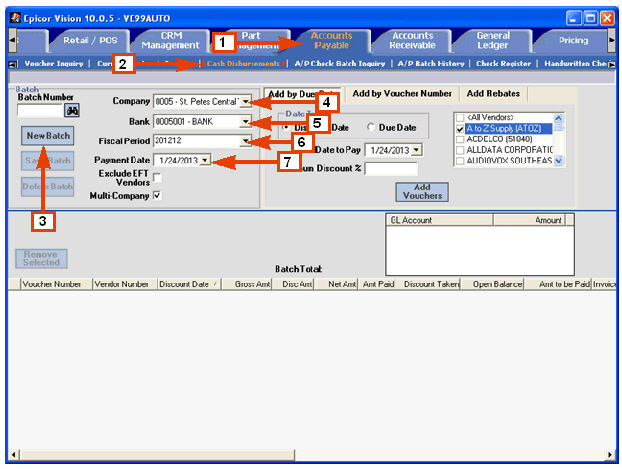
• When you delete a batch via the Delete Batch button on the Accounts Payable —> Cash Disbursements screen, all vouchers in the batch are updated so that they are free to be added to another check batch.
• You can add open vouchers to a batch from the Accounts Payable —> Invoice History screen via the right-click options in the list view.
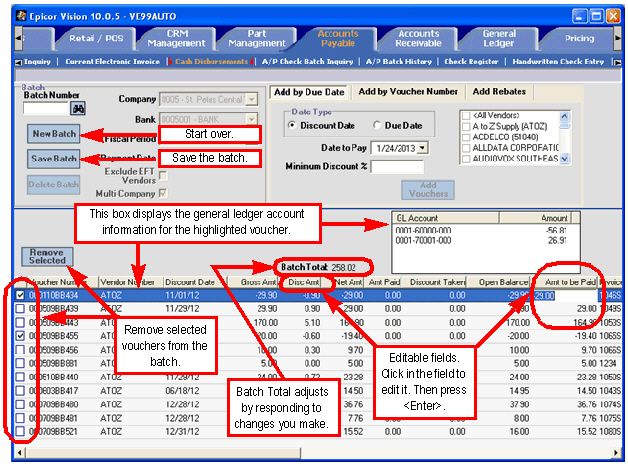
• When you save a batch via the Save Batch button on the Accounts Payable —> Cash Disbursements screen, all vouchers added to the check batch are updated so that they cannot be added to another batch. This is true whether adding vouchers to a new batch or adding vouchers to an existing batch.
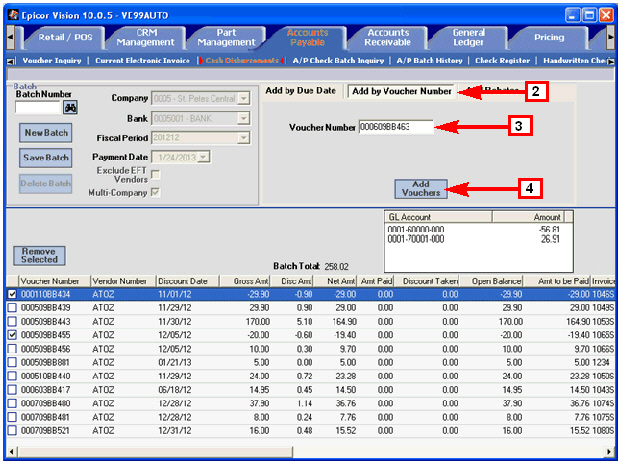
• When you add a voucher to a batch and the voucher has a discount amount, the Vision system handles it as follows:
If the Payment Date is greater than or equal to the Due Date, or the vendor has the Always Discount flag turned on and if nothing has been paid on the voucher yet, then the system calculates the amount to be paid as the gross amount minus the discount amount. If a partial payment has been made, then the system does not use the discount amount, and the system calculates the amount to be paid as the gross amount minus the amount already paid (including the discount taken).
However, if the user changes the discount amount for a voucher in the list view, then the system adjusts the amount to be paid regardless of the Payment Date and the Due Date of the voucher.
For additional information, see Date Table.
• The Vision system does not display a discount amount in the list view on a partially paid voucher.
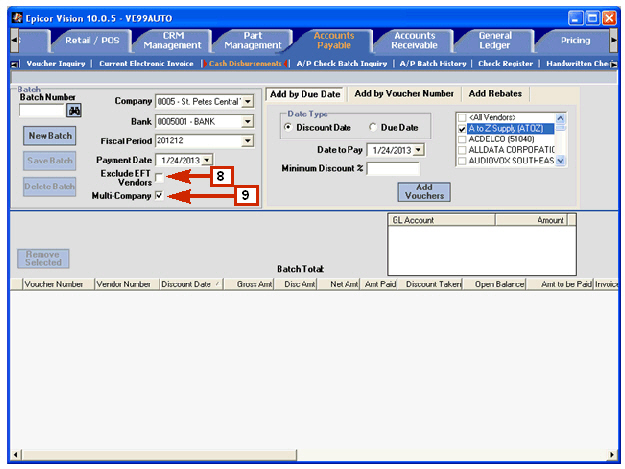
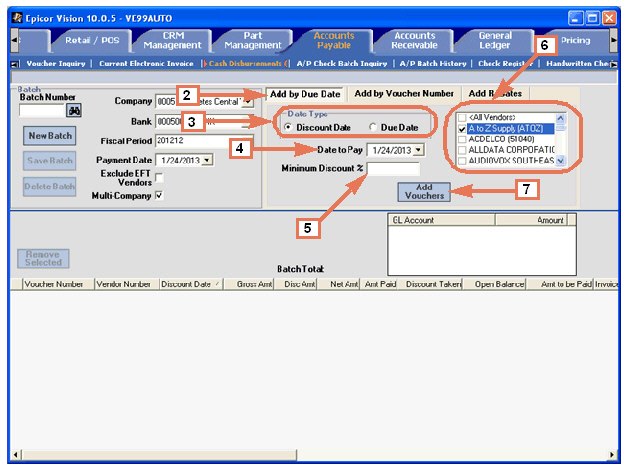
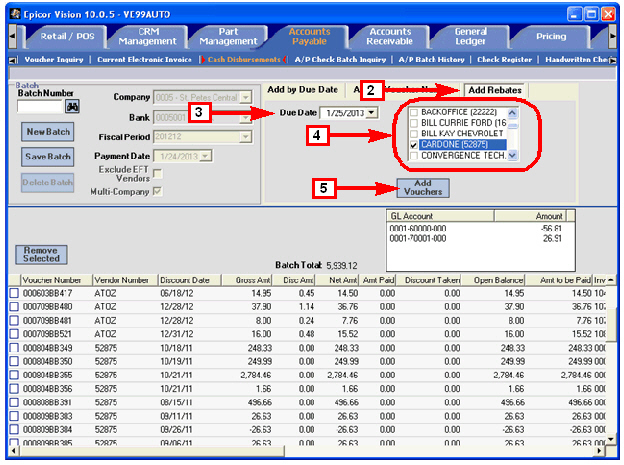
• The Vision system excludes consignment vendors from the vendor list box on the Add by Due Date and the Add Rebates panels of the Accounts Payable —> Cash Disbursements screen.
• You should not use both the Vision GUI and the Vision Back-Office Cash Disbursements functionality to print Accounts Payable checks. Use one or the other but not both.
The Vision Back Office does not have a batch function and it does not know when a voucher has been added to a batch. The Vision Back Office only looks to see if the voucher has been processed. Thus the Vision Back Office is not compatible with the Vision GUI.
|


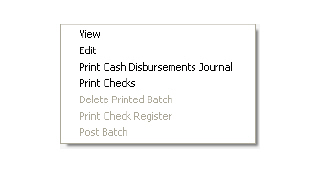
 button.
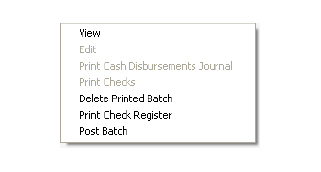

 Although, the Accounts Payable tab provides funtionality equivalent to the Vision Back Office, you cannot use them interchangeably. The Vision Back Office is NOT compatible with the Vision GUI.