Before starting the font installation, please log off from Vision.
- On taskbar in Windows, click the Start button. Point to Settings,
and then click Control Panel.
- The Control Panel appears. Double-click Fonts.
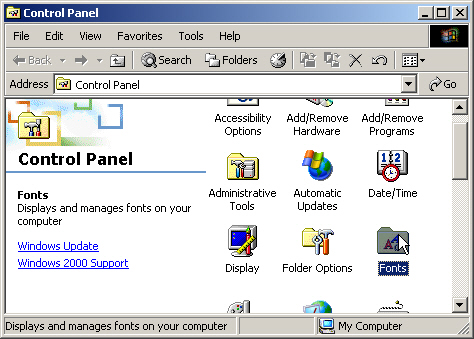
- The Fonts folder appears.
- On the File menu, click Install New Font.
- The Add Fonts dialog box appears.
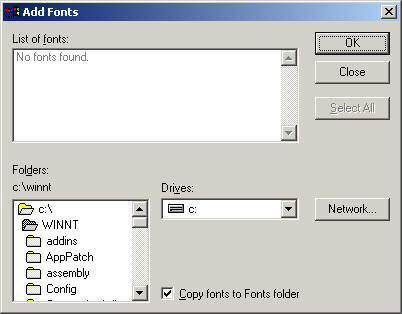
- In the Folders list box, select the Fonts folder.
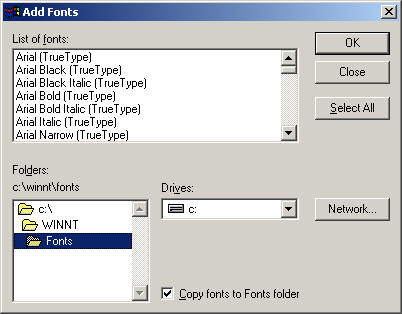
- In the List of fonts box, select Microsoft Sans Serif font,
as well as all of four of the Lucida Sans Typewriter fonts. To
select these multiple nonconsecutive fonts in the list:
- Click the first font you would like to select.
- Press and hold Ctrl while clicking the next font. Repeat until
all five fonts have been selected.
- Click OK.
- Your computer will prompt you with several messages. Click Yes for
all of them.
- You can close the Font program and log on to the Vision system again.
If you have any problems or questions, please contact The Systems House at
support@tsh.com.