For Windows XP Professional Only
Do not install the font’s package as recommended. Instead, follow these
instructions if the terminal emulation is not working within the
Vision application.
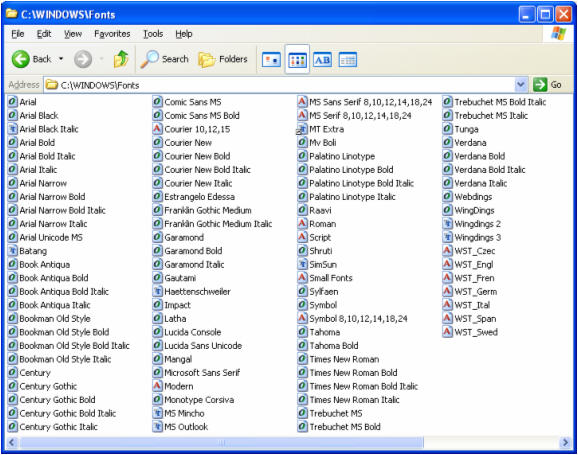
- Double-click the My Computer folder.
- Double-click the folder for your C drive.
- Browse to
the windows\fonts directory, as shown below:
- On the File menu, select Install New Font. The Add
Fonts dialog box appears.
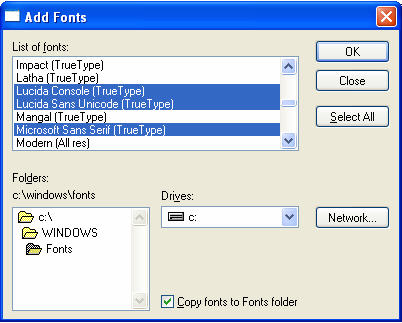
- Select the Lucida and Microsoft Sans Serif fonts, and select each of them.
To select multiple fonts, click the first font, press and hold down the
Ctrl button, and then select each of the other fonts. There may be several
Lucida fonts listed highlight all of them. There should only be one Microsoft
Sans Serif font.
- Click the OK button. The Windows Fonts Folder dialog box
appears.
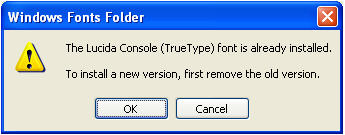
- Click OK to continue. The Windows Fonts Folder dialog box reappears
several times, depending on how many fonts were selected. Once you are
finished installing the fonts, start the Vision application, and the terminal
emulation should work correctly.