Create the spreadsheet.
Using an appropriate spreadsheet application, create a table with columns as defined here.
For example, you might use Microsoft Office Excel.
Click the image to see a larger view.

Save the spreadsheet as a CSV file.
Refer to the instructions for your spreadsheet program for information on how to save your spreadsheet as a CSV file.
Saving the spreadsheet in CSV format renders the file as plain text, readable by a plain text editor such as Microsoft Notepad.
Click the image to see a larger view.

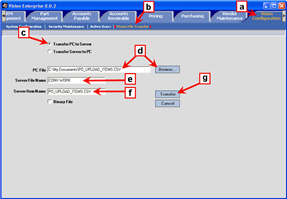
Click the Vision Configuration tab.
Click Vision File Transfer.
Click Transfer PC to Server.
Type the PC file name and path.
Either type the file path and file name, or click Browse to select the file.Type the server filename, CONV.WORK.
Type the server item name.
You can use the same name that you input for the PC file name. However, you must leave out the file path information.
For example, PO_UPLOAD_ITEMS.CSV.Click Transfer.
Click the image to see a larger view.
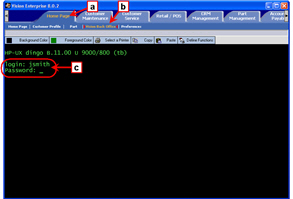
Open the Vision Back Office.
Click the Home Page tab.
Click Vision Back Office.
Input your username and password.
Based upon what type of Vision system you are running, do one of the following:
Click the image to see a larger view.
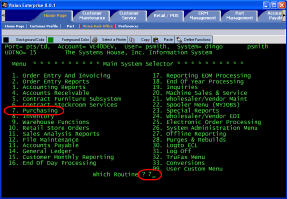
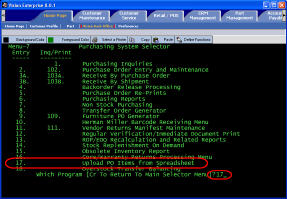
From the main menu, select Purchasing.
Type 7<Enter>.
Click the image to see a larger view.
From the Purchasing menu, select
Upload PO Items from Spreadsheet.
Type 17<Enter>.Skip to step 10.
Click the image to see a larger view.
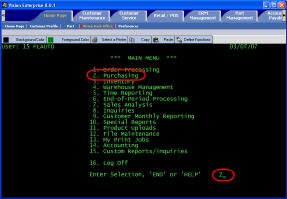
From the main menu, select Purchasing.
Type 2<Enter>.
Click on the image to see a larger view.
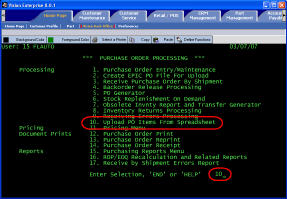
From the Purchasing menu, select
Upload PO Items from Spreadsheet.
Type 10<Enter>.
Click on the image to see a larger view.
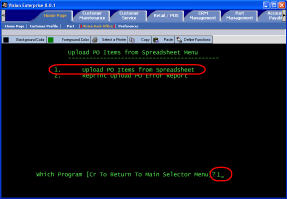
From Upload PO Items from Spreadsheet Menu, select Upload PO Items from Spreadsheet.
Type 1<Enter>.
Click on the image to see a larger view.
Type <Enter> again to continue to the next screen.
Click on the image to see a larger view.
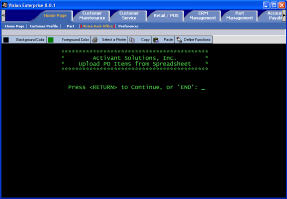
Type the name of the spreadsheet file you transferred in step 3.
For example, type PO_UPLOAD_ITEMS.CSV<Enter>.
Click on the image to see a larger view.
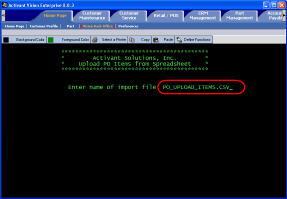
Specify whether to create an active purchase order.
To specify an active PO, type Y<Enter>.
Click on the image to see a larger view.
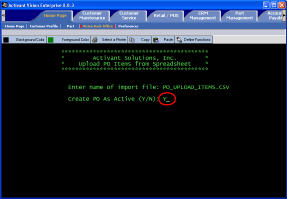
Fill in the purchase order entry data.
Type your three-letter operator code and press <Enter>.
Type the two-digit company code and press <Enter>.
Type the three-digit warehouse code and press <Enter>.
Accept or modify the order date.
To accept the date, press <Enter>.
To modify the date, type a new date and press <Enter>.
Click on the image to see a larger view.
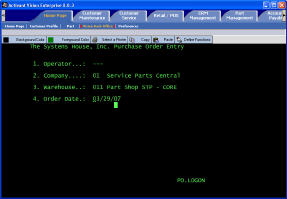
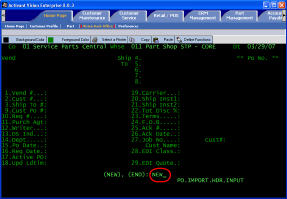
Specify a new purchase order.
Type NEW<Enter>.
Click on the image to see a larger view.
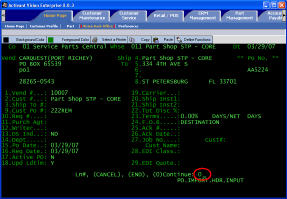
Complete the purchase order details.
Input the necessary information, beginning with the vendor number.
If you make a mistake during data entry, use the Ln# command to change any values as necessary.
When the purchase order details are correct,
type 0<Enter>.
Click on the image to see a larger view.
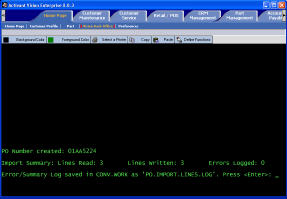
The Vision system uploads the purchase order spreadsheet file and displays a summary of the process as shown at right.
Press <Enter> to return to the
PO Upload from Spreadsheet menu.
Click on the image to see a larger view.
